What is Google My Business Location Authority? How Local Content Can Help.
Blue Swing Media • May 7, 2020
How to boost Location Authority using Local Content Marketing

Location authority
plays a huge role in advancing the interests of businesses that are looking to gain more customers and local content can help. The reason behind this is that location authority endows a company with the ability and power to rank better on Google Map searches, thus increasing the chances of it being discovered by new customers. As a business’s location authority grows, it will start ranking higher on Google Map search results. To put it simply, your business listing will pop up without the need for a customer to zoom in on a particular location, thus enhancing your credibility and visibility among potential customers. With increasing location authority, a company will be able to dominate search results over a much larger area in Google Maps.
For instance, if a customer types ‘Restaurants in FL’, restaurants with greater location authority will be ranked higher and be displayed first to the user. And if your business has a content rich website, search engines with eventually take notice. Additionally, the restaurant will also rank first on the map’s listed results, thus increasing the likelihood of the user clicking on their listing.
Local businesses
can generate a huge amount of leads and sales by ranking better on Google Map results. Bagging one of the top spots is absolutely crucial since the latest statistics show that more than 90% of all traffic is hogged by the top 3 local business listings. To gain more customers, it is imperative that you improve the location authority of your business.
Verification of your listing
on Google My Business is necessary for ensuring your business is visible on Google Map results.
However, mere verification doesn’t mean that your listing is going to top the search rankings automatically.

How to Achieve Better Google Map Rankings?
The secret lies in increasing your business’s location authority and having a local content marketing strategy will take care of a large portion of what is needed. Apart from giving your business the ability to rank better on Map results, your business listing will also likely be shown to users who are relatively at a greater distance from your location.
Not having any location authority means that your Google Maps listing will only pop up when users are near your place of business. However, by increasing your location authority, your business will be visible to users even at greater distances.
For instance, possessing enough location authority could help your business be seen by people who are 3 miles, 6 miles, or even 12 miles away from your business location.
At Blue Swing Media, we frequently talk to our clients about an important phrase that can take the performance of their Google Maps listing to a whole new level – Location Authority.
This is what drives the rankings of a location or local business
in Google Map search results. If you want to drive more customers to your business in this digital age, you need to make location authority your new best friend.
Once your business starts ratcheting up its location authority, it will start making its way up the local Google Map search results, shining a spotlight on your business in the process.
While describing local SEO
practices to our clients, we usually talk to them about location authority as well. However, many prospective and existing clients are completely unaware of the role played by location authority.
Location Authority – How Useful Is It?
Location Authority is a measure of a business’s credibility, consistency, and accuracy.
For achieving any significant location authority & for competing in Google Map/local search results effectively, it is location authority that plays the biggest role compared to other factors in determining your ranking within the defined radius and market.
Location authority can be boosted by ensuring that the information posted online about your business is accurate and consistent to the best of your abilities.
The information we’re talking about here are your official business citations. Business citations contain the following information regarding your business:
- Name of your business (as per GMB listing)
- Street Address
- City Name, State, and Zip Code
- Your Business Phone Number
- Website URL
All of your online business citations should follow the same format given in your listing on Google My Business.
What are Google Maps Citations?
Let’s take Blue Swing Media as an example. Here is our standard citation format, which we use for distributing on webpages around the Internet via our partner network:
- Blue Swing Media – Website Design, Content Marketing & SEO in Southwest Florida
- 157 S. Davis Street
- LaBelle, FL 33935
- 863-517-0615
- https://blueswingmedia.com
Even you can harness the magnitude and scale of our citation distribution network that we use for enhancing Blue Swing Media’s rankings, when you engage our services.
You can also check out White Spark’s graph, which has been presented here to help you better understand the citation ecosystem in greater detail.
Are Google Map Citations Enough for Building Location Authority?
Distributing business citations across many websites is actually quite similar to backlink building strategies
that are commonly used for increasing a website’s organic search traffic from search engines.
However, mere publication and distribution of your business citations isn’t enough for building your business’s location authority.
The citations must be published on websites that deal with your location and industry.
To sum this article up, this is what you need to do to improve your location authority:
- Register your business on Google Maps
- Claim your business listing
- Provide comprehensive details about your business on your Google profile
- Use local contact numbers
- Avoid using tracked phone numbers
- Update the working hours of your business
- Optimize your business description on Google Maps
- Ensure that the business has been categorized properly
- Add photos of your office to the listing
- Try to increase the number of Google reviews you have
- Consolidate all duplicate listings for your business
- Maintain a well-designed, responsive site
- Embed Google Maps on your site
- Utilize local keywords
Building location authority can be extremely useful in increasing your search result rankings on Google Maps. By optimizing
it properly, not only will your leads, sales, and revenues rocket monumentally, but your business will also be able to make a name for itself as a reliable and credible service provider. In this day and age, where the reputation of your business online can make or break your business, this is one aspect that you cannot afford to ignore.
Share
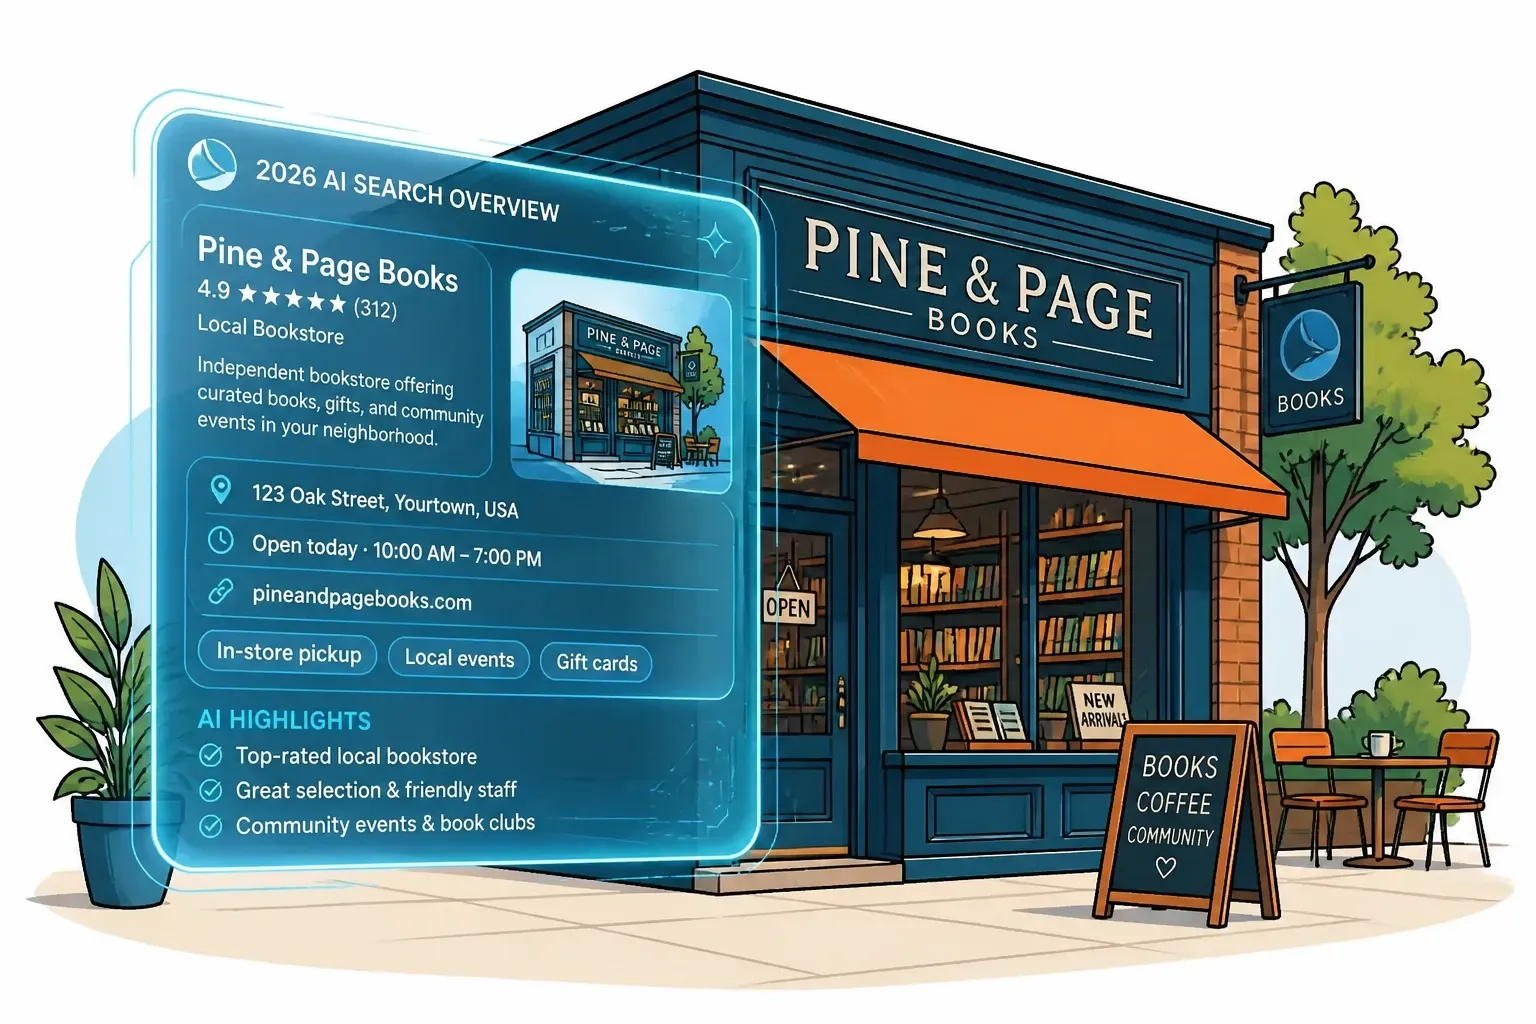
The 10 blue links are gone. In 2026, local SEO means getting cited by AI Overviews. Learn how GEO, Google Business Profile, and E-E-A-T keep your business visible.

Discover proven strategies for real estate agents to optimize their content and websites for AI search platforms like ChatGPT, Claude, and Perplexity. Learn how to dominate AI-powered search results and attract more qualified leads in 2026.
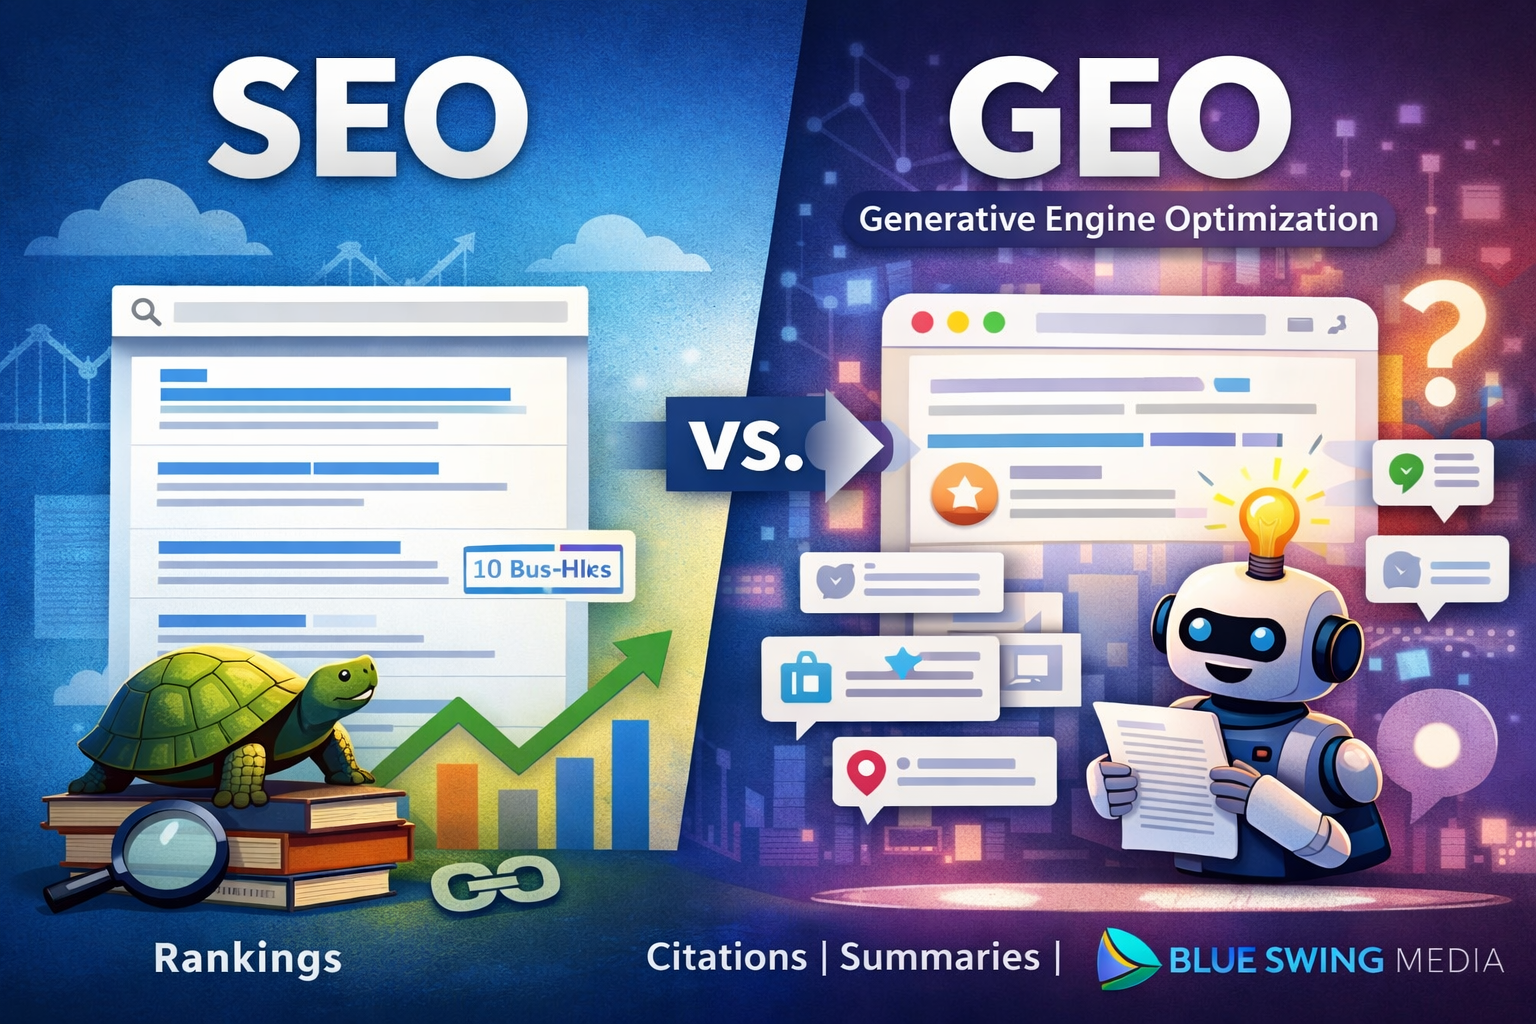
A lot has changed since I published Digital Marketing with Tortoise & Hare in 2017. Back then, the digital marketing conversation was heavily centered on websites, search rankings, social media consistency, and building momentum over time. Those principles still matter, but the landscape has shifted in a big way. Even the way people discover businesses and consume information has changed. My book was published on June 12, 2017, and in many ways, that feels like a different era of digital marketing. One of the newer terms getting a lot of attention right now is GEO , which stands for Generative Engine Optimization . If you’ve been hearing people throw that term around and wondering whether it’s just another buzzword, you’re not alone. But there is something real behind it, and it’s worth understanding. So, What Is GEO? GEO is essentially the practice of optimizing your business, website, and content so that AI-driven search experiences can find, understand, trust, and reference you. Traditional SEO has focused on helping your website rank in search engine results. GEO is more about helping your brand show up in AI-generated answers , summaries, recommendations, and citations. In simple terms: SEO helps you rank. GEO helps you get referenced. That’s a meaningful distinction. Today, people are no longer just typing a keyword into Google and clicking through ten blue links. More and more, they are asking full questions and receiving summarized answers from AI tools. That means your content is not only competing for rankings anymore. It is also competing to become part of the answer itself. Has SEO Been Replaced? No. Let me say that clearly: GEO does not replace SEO. It builds on it. If your website is poorly structured, your content is thin, your service pages are weak, and your business has little authority online, then GEO is not going to magically fix that. The same foundational principles still matter: a technically sound website strong service and location pages clear messaging helpful content consistent brand signals trust and authority In other words, the tortoise still matters. Steady, strategic digital marketing still wins over hype, shortcuts, and shiny-object syndrome. That hasn’t changed. What has changed is that now your content needs to be useful not just for human readers and search crawlers, but also for AI systems trying to summarize the web. Why GEO Matters If AI-powered search experiences continue to grow, businesses that are easiest to understand and trust will have an advantage. That means the question is no longer just: “How do I rank for this keyword?” It’s also: “How do I become the kind of source that AI tools want to cite, summarize, and recommend?” That changes the strategy. Businesses that win in this next phase will likely have content that is: clear direct well-structured specific trustworthy supported by real-world authority The businesses that struggle will often be the ones still publishing vague, bloated, keyword-stuffed content that says a lot without really answering anything.