DIY Content Marketing Guide
Blue Swing Media • February 12, 2020
The Simple DIY Content Marketing Guide
Do you want to become a content marketing superstar? If you believe that you’ve got what it takes to conquer Google Search but are just missing that final shove in the right direction, we’ve got your back. With the help of our content marketing guide, you are guaranteed to turn into a champion of the SERPs!
Why Bother With Content Marketing?
Did you know that 60% of people enjoy reading relevant brand content and are inspired to seek out a product after reading about it? According to this Demand Metric infographic, 90% of consumers find custom content useful. High-quality content makes them more likely to take action, so on average, companies with blogs increase their leads by 67% a month.
That data clearly shows that content marketing is the most effective and viable way to raise awareness of your brand. Never has it been more vital to keep potential customers engaged with quality content than right now. The goal is to succeed in giving site users the information that they seek and to answer all their queries. If your business insights prove valuable to them, you will establish yourself as an industry leader and an authority in your niche. As a result, you will inspire more trust in your consumers and experience an increase in sales.
★ Check this out for more on Content Marketing

What Your Content Should Deliver
High-quality content has to be effective on several fronts. Namely, for the content to generate leads effectively, it:
- Has to provide a genuine solution to the problem that the target audience is trying to resolve
- Must meet the audience’s needs and expectations
- Has a system for attracting continual website traffic
- Guides visitors further down the funnel
- Nurtures brand loyalty
★ For more content-related information, here’s how to breathe new life into content that you already have.

How Can You Get There?
Having clearly identified content marketing goals is a great place to start, but how can you successfully bring your ideas to fruition?
The first thing to do is to get to know your target audience. What are their problems, and what are they aspiring to do? Once you’ve got the answers to those questions, you will know just how to address them.
Next, you need to identify the best channels for your content. Create engaging, long content pieces and dedicate them to your top channels.
Last but not least, build a conversion funnel and carefully structure every step of the customer’s journey from marketing and promotion to sales.
★ Learn how to speak to your audience and customers through your blog.
How to Master Google Search — All There Is to Know
If your goal is to dominate Google’s search engine results pages, there are two things you need to keep in mind:
- Building organic traffic
- Building brand awareness
You want potential customers to be able to find you in the SERPs easily and to be familiar with your brand image and your goods and services. In order to build organic traffic and boost brand awareness, there are several steps you ought to implement.

Step 1: Focus on Keyword Research
The first step of the way is to find the keywords you want to rank for. Choosing the right keywords is essential as the keyword query is the starting point of the searcher’s journey — and you want that journey to lead to you.
We suggest you use the Google Keyword Planner. This free tool will help you identify keywords and ideas that most accurately describe the products or services you are offering.
Another convenient tool is SEMrush. Use this SEO tool to do your keyword research, monitor your competitor’s keyword activity, and do SEO of your blog.
Also, make sure to track your current keyword ranking with Google Webmasters. This tool helps you stay on top of your site’s visibility and performance with ease.
Once you have determined the keywords you want to rank for, use Ubersuggest
to check if they are worth spending your budget on. This tool will show you how your competitors rank for the same keywords.
★ Want to know more about this topic? Learn how to choose the right keywords
in this article.
Step 2: Create and Distribute Valuable Content
Now that you know which keywords to use, it’s time to envelop them with some high-quality content. Enter a keyword or your domain name into BuzzSumo
to generate ideas for high-performing content.
The goal is to create SEO friendly content and distribute it to multiple channels. Make sure to crosspost your content on blogger.com, medium.com, and other RSS and CMS channels. Dedicate the content to your mailing lists and newsgroups. Encourage your coworkers, fans, and followers to share the content with their networks. Also, expand the content to forums and social media pages, such as Facebook pages, Facebook groups, Twitter, LinkedIn pages, LinkedIn personal accounts, Slack, and others.

Step 3: Keep Track of Your Content Ranking
Once you have singled out the keywords and created, published, and distributed the content, the work doesn’t really end. Now it’s up to you to analyze the content you’ve produced.
How does it rank? Verify whether the new keywords have an impact on your website’s visibility. If you keep track of your content’s rankings, you will be able to optimize it by altering the metadata, such as the meta description and the title. If a given keyword scores well, you may start to introduce long-tail keywords to your article. That way, your ratings are bound to go through the roof!
Step 4: Work on User Engagement
Google rewards content that provides a positive user experience. Show that people enjoy your website by creating backlinks and building a returning visitor base.
For instance, use Ahrefs
to locate your competitors and monitor their activity. Research and seek backlinks to strengthen your link building.
Send browser push notifications and regular newsletters every time you produce new content. Subscribers.com
offers custom, schedulable, and automatable push notifications.
The Best Tools That Will Help You Reach Your Goal
To recap, let’s have an overview of the most useful tools and apps that we’ve covered in our content marketing guide.
Contact Us
Best keyword and content research tools:
- Google Keyword Planner
- SEMrush
- Ahrefs
- Ubersuggest
- Buzzsumo.com
- Google Webmasters
- Subscribers.com
Share
Will AI replace real estate agents? How do you show up in ChatGPT answers? The top 10 questions Realtors are asking about AI marketing — answered honestly, with a practical plan.
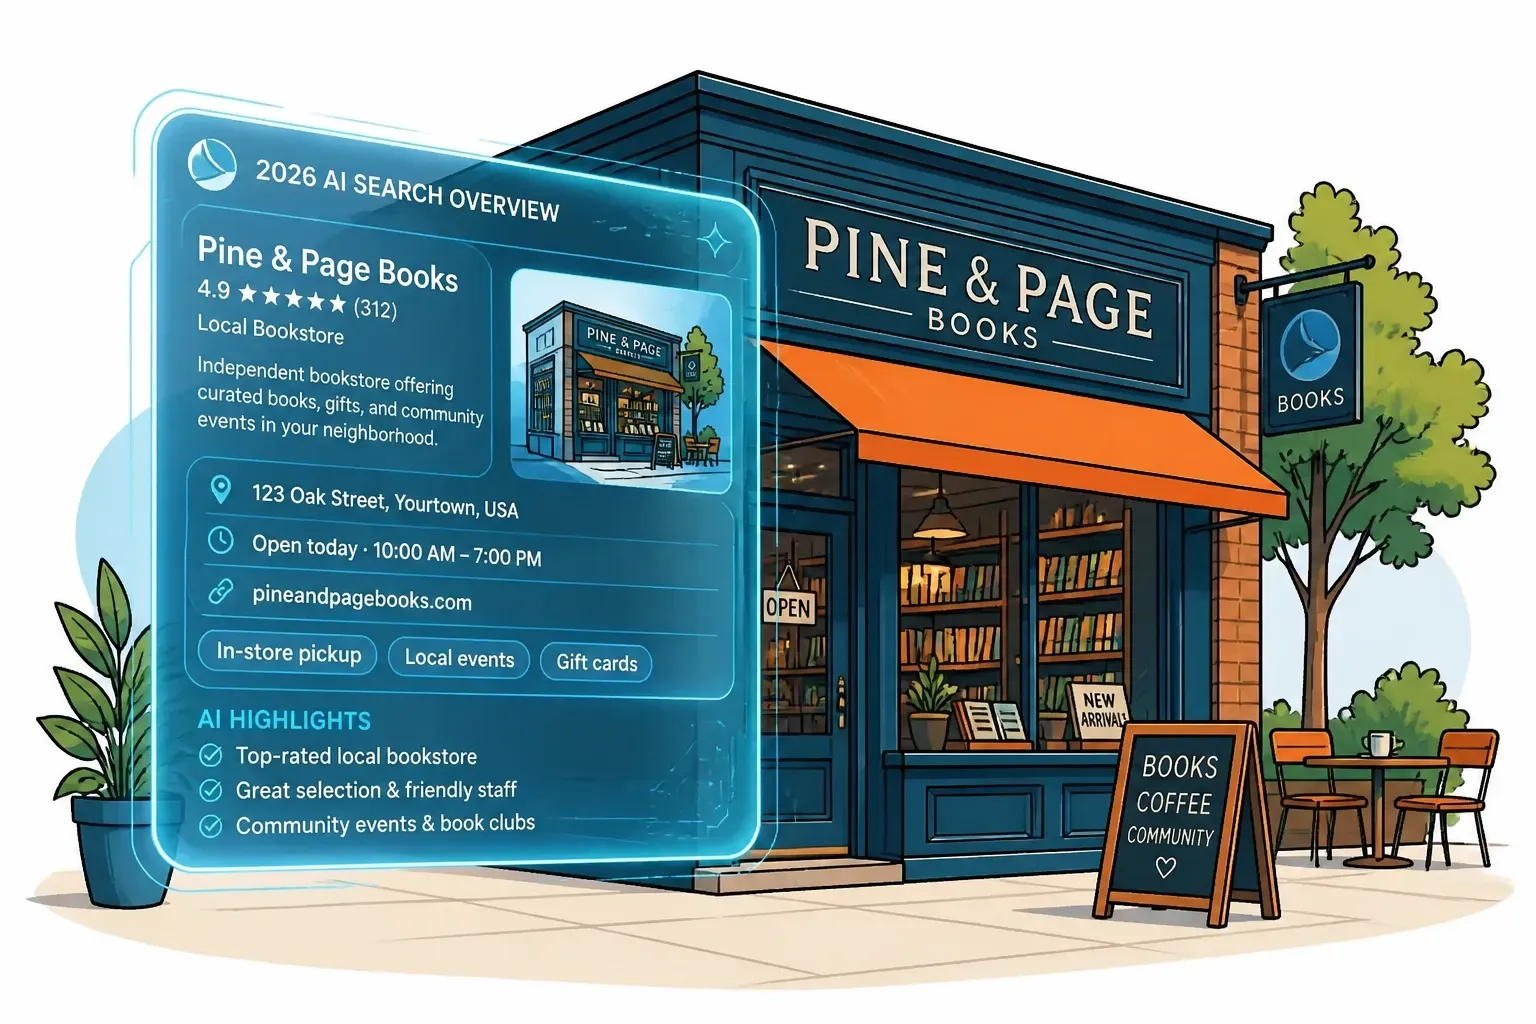
Your Website Is the Only Land You Own on the Internet. Here's How to Make It Work in the AI Search Era. There's a homeowner in Cape Coral right now standing in front of her air handler, phone in hand, asking an AI assistant a question she used to type into Google: "The thermostat is on, the fan is blowing, but there's no cold air. What's wrong, and who should I call?" Ten years ago, that question would have been mangled into "AC not cooling near me," she'd have clicked three websites, skimmed two of them, and called whoever answered first. Today, the AI just... answers. It explains the likely causes. It might name a company. And she may never click through to a website at all. Some marketers look at that and declare the website dead. They're wrong — and if you follow their advice, you'll end up building your entire business on land somebody else owns. Here's the truth worth building a strategy on: your website is the only piece of the internet you actually own. Google can change its algorithm tomorrow. ChatGPT can change how it cites sources next month. Facebook can throttle your reach on a Tuesday for reasons nobody will ever explain to you. But your domain? That's yours. Nobody can take it, rank it out of existence, or charge you rent to reach your own audience there. So no — don't abandon the website . Do the opposite. Make it the hub : the home base where your real knowledge lives, built so that both humans and AI systems can read it, trust it, and cite it. Then push that content outward to every rented platform — Google, the AI assistants, social media, email — like spokes on a wheel. The website's job description is changing. Its importance isn't. What actually changed: search stopped being keywords and became conversations For a decade, local marketing was a vending machine. Put money in the top (SEO, ads, landing pages), and leads came out the bottom. Search, click, convert. The journey was so predictable we built an industry around it — prettier websites, faster load times, a chat widget in the corner blinking like it needed medical attention. That machine still works. But a growing share of searches now end with zero clicks — the AI answers, the customer nods, done. And people don't search like robots anymore, because they're no longer talking to one. Nobody says "roofer near me" to an AI. They say: "A storm knocked shingles off one section of my roof. Do I need a whole new roof or can this be patched, and roughly what would each cost?" That's not a keyword. That's a conversation with a diagnosis, a decision, and a budget question inside it. And here's the part that matters for your strategy: when the AI answers that question, it has to get the answer from somewhere. It pulls from sources it can read, verify, and trust. Your hub — your website — is where you become that source. The hub-and-spoke model: own the content, rent the reach Think of it this way: The hub is your domain. It holds your services, your pricing guidance, your answers to real customer questions, your credentials, your booking system. It's structured, specific, and permanent. You own it outright. The spokes are everywhere that content travels: Google's AI results, ChatGPT and Gemini citations, Facebook posts, YouTube videos, email newsletters, Google Business Profile. These platforms are powerful — and they're all rented. Their rules change without your vote. The businesses that get burned in every platform shift are the ones that built their house on the spokes. The ones that thrive publish deep, original content on their own domain first, then syndicate it outward. When the algorithm changes — and it always changes — the hub is still standing. The AI era doesn't break this model. It rewards it, because AI systems need trustworthy sources to cite, and a well-organized website full of genuine expertise is exactly what they're looking for. Which raises the real question: what should the hub actually contain? Nobody has ever finished reading "5 Tips for Spring Home Maintenance" You know the posts. Every home services website has them. "Why You Should Clean Your Gutters." "Top Reasons to Service Your AC Before Summer." Content so interchangeable you could swap the logo at the top and nobody — including the business owner — would notice. That content was always weak. In the AI era, it's worse than weak: it's invisible. AI can generate a generic maintenance-tips article in four seconds, so it has no reason to cite yours. Generic content is a commodity with negative value — it costs money to produce and tells the machines nothing about why you're worth recommending. What AI systems reward is the thing your business has in abundance and no content mill can fake: real jobs, real customers, real questions. Compare: "Why You Should Maintain Your AC" (written by everyone, read by no one) "Why One Room in Your House Stays Hot Even When the AC Is Running" (written by someone who has actually crawled through an attic in July) The second one wins because it matches how a real person describes a real problem — and it's exactly what an AI reaches for when a customer describes that situation. Three things to build into your hub right now 1. Publish pricing — yes, actually The single most common thing people ask AI about a service is "how much does this cost?" If your website contains no pricing information, you've handed the AI nothing to work with — and it will happily cite the competitor who did. The usual objection: "Every job is different, we can't publish prices." True — and irrelevant. Nobody's asking you to post your internal price book. Publish guidance: typical ranges, what drives cost up or down, what's included, and where the "$99 special" in the mailer turns into a $600 invoice once someone's actually on the ladder. A gutter company, for instance, could explain why a single-story ranch costs less than a steep two-story with a pine tree hanging over it, whether downspout flushing is included, and when cleaning stops making sense and repair starts. That one page builds trust with humans, pre-qualifies your leads, and gives AI something concrete to cite. Three wins, one article — published on your domain, where it keeps working for years. 2. Make your hub bookable — by humans and machines The next phase of this shift is agentic booking : a customer tells their AI assistant, "Find a plumber who can come Friday afternoon and book it," and the assistant does exactly that. When that becomes routine — and in some industries it already is — the businesses that get chosen won't necessarily be the best plumbers. They'll be the ones a machine can actually transact with. If booking your company requires calling during business hours and describing the problem to whoever picks up, you're invisible to an AI shopping on someone's behalf. The honest audit takes ten minutes: Can someone book you online, right now, at 9 PM, from a phone, without talking to anyone? Are your service areas and appointment types defined somewhere a system can read them? If you're on Jobber, ServiceTitan, or Housecall Pro, do you know what they're building for AI-assisted booking? If the answer to any of these is "uh," that's your to-do list. And notice where the booking lives: on your site. Your domain becomes not just where customers learn about you, but where the transaction happens — no middleman taking a cut of the lead. 3. Mine the gold your phone rings with every day Here's the content strategy hiding in plain sight: your office staff and technicians hear the best content ideas in your market, every single day, for free. Every question a customer asks — on a call, at an estimate, in a review, in a text — is a question hundreds of other homeowners are asking an AI right now. "Why does my breaker trip when I run the microwave?" "Is this furnace noise normal?" "Do I need to be home for the appointment?" "Can I patch this or does it all have to go?" Start writing them down. A shared note, a whiteboard, a Friday email from the techs — the system doesn't matter. Then turn each one into a plain-language answer on your website first : a blog post, an FAQ entry, a service page update. Then cut it up and send it down the spokes — a short video for social, a snippet for email, a post for your Google Business Profile — all pointing back home. You're not inventing content. You're transcribing expertise you already have, and planting it on land you own. The deeper asset: your knowledge, organized Zoom out and you can see where this heads. AI search is step one. Step two is personal AI agents — assistants that don't just answer questions but research options, compare providers, request quotes, and book appointments on a customer's behalf. When machines start shopping for humans, the winning businesses will be the ones whose knowledge is organized: services, service areas, pricing logic, policies, credentials, warranty terms, common repair scenarios, and the accumulated judgment of your team — structured clearly enough for both people and machines to understand. Right now that knowledge is scattered across your CRM, a few PDFs, and the heads of your three most experienced employees. Think of the goal as a knowledge catalog — and think of your website as its public face. The hub isn't just a brochure anymore. It's the published, citable edition of everything your business knows. The old game was ranking. The new game is being understood — and understood at an address you control. Where to start this month No overhaul required. Pick from this list in order: Write one pricing guide for your highest-volume service. Ranges, cost factors, what's included. Clarity beats precision. Test your own booking process on your phone, after hours, as if you were a customer. Fix what's broken. Start a question log. Every real customer question your team hears goes on the list. Publish answers to the top ten questions on your website, in the words customers actually use — then repurpose them for social, email, and video. Audit your service pages. If a page could belong to any company in any city, it's not done yet. Organize your business knowledge in one place, and let your website reflect it. Then ask the new optimization questions. Not just "do we rank?" but: Does AI understand what we do? Can it find our pricing? Can it answer common questions using our content? Could a machine book us — through our site? The bottom line The platforms will keep changing. Google will redesign search again. The AI assistants will rewrite their citation rules. Social reach will rise and fall like the tide. That's what rented land does. Your domain doesn't. It's the one asset in your digital presence with a deed attached — so treat it like the hub it is. Fill it with real answers, real pricing guidance, real expertise from real jobs. Make it easy to read, easy to trust, easy to cite, and easy to book. Then share that content everywhere your customers and their AI assistants spend time, with every spoke pointing back home. The businesses that win the next five years won't be the ones chasing every new platform. They'll be the ones that built something worth citing — on land they own. If you want help making your website the AI-ready hub of your marketing — content, pricing pages, local SEO, and a strategy for sharing it everywhere else — Blue Swing Media works with small businesses to build practical systems for what's next, not what worked in 2019.
The 10 blue links are gone. In 2026, local SEO means getting cited by AI Overviews. Learn how GEO, Google Business Profile, and E-E-A-T keep your business visible.